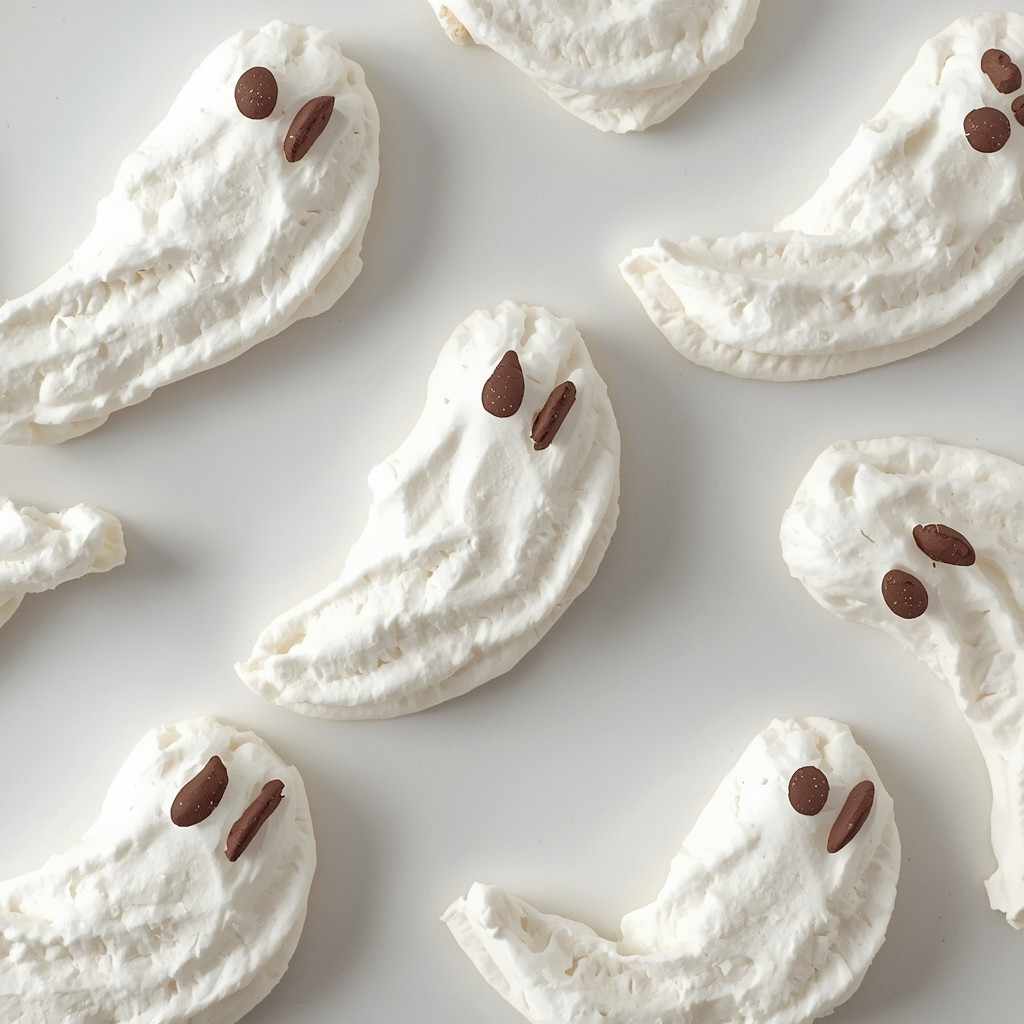
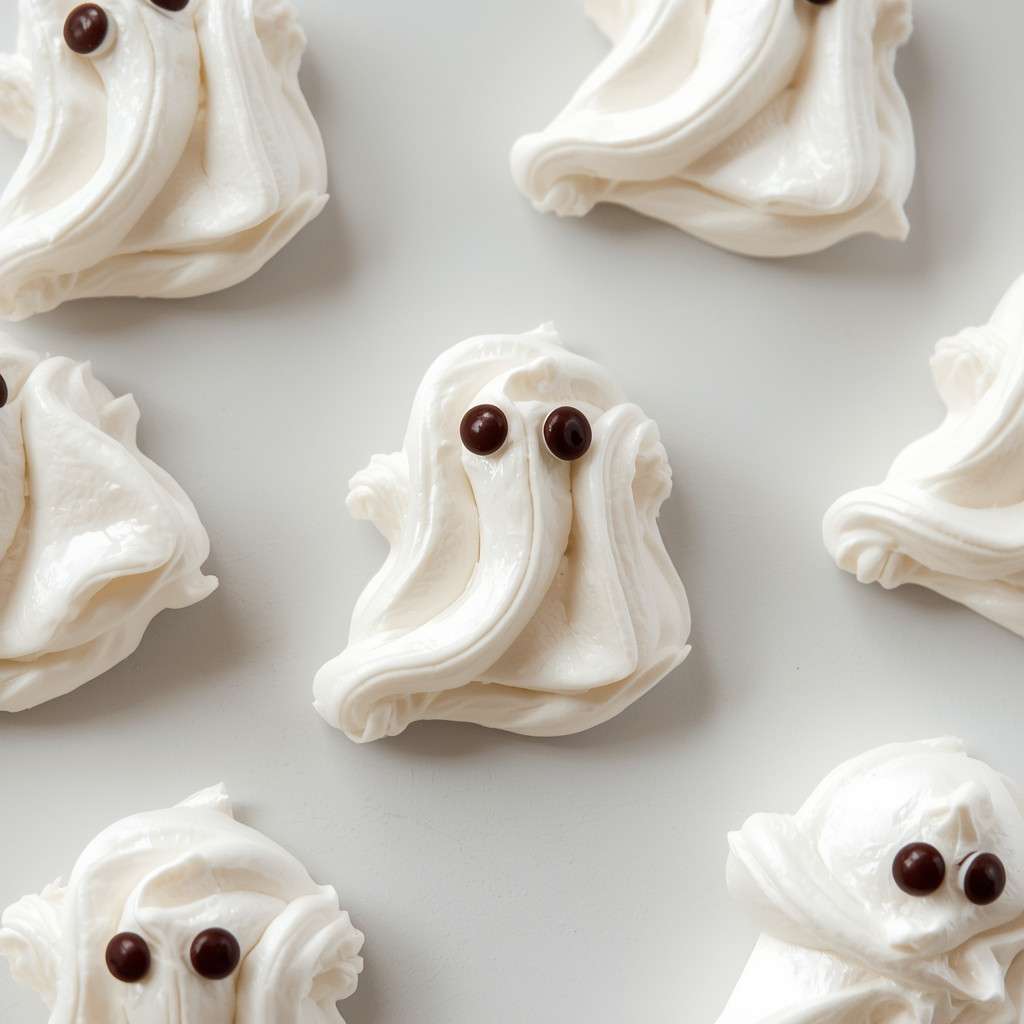
These Ghost Meringue Cookies with Chocolate Eyes are light, airy, and hauntingly adorable — the perfect sweet addition to any Halloween spread! Made with just a few simple ingredients (egg whites, sugar, and chocolate), these cookies transform into cute little ghost figures that are both elegant and playful. Whether you’re hosting a Halloween party or just looking to bake something festive and fun with kids, these ghost meringues are sure to steal the show.
I absolutely love this recipe because it combines the art of baking with a dash of creativity — every ghost takes on its own unique personality. They’re crisp on the outside, soft and marshmallowy on the inside, and they melt away like magic when you bite into them. Plus, they look like they came straight out of a bakery window, yet are surprisingly easy to make at home.
Why I Love This Recipe
I adore this recipe because it’s a mix of simplicity, charm, and whimsy. You don’t need fancy tools — just some egg whites and sugar whipped to perfection. The process of piping and decorating them feels joyful and artistic.
Watching them puff up in the oven and seeing those little chocolate eyes peek out at you is pure Halloween happiness. It’s also naturally gluten-free, low in calories, and keeps beautifully for days!
Why It’s a Must-Try Dish
This dessert is a must-try because:
- It’s a showstopper for Halloween parties and dessert tables.
- Uses minimal ingredients yet delivers maximum impact.
- Perfect for kids and adults alike — fun to make, fun to eat.
- A great make-ahead treat that stores well.
- Offers a delightful crunch and sweetness without being heavy.
Preparation and Cooking Time
- Preparation Time: 20 minutes
- Cooking (Baking) Time: 1 hour 15 minutes
- Cooling Time: 30 minutes
- Total Time: 2 hours 5 minutes
Servings and Nutrition Info
- Servings: 20–24 cookies
- Calories: Approximately 45 kcal per cookie
Course and Cuisine
- Course: Dessert / Snack
- Cuisine: American, Halloween-Themed
Ingredients
For the Meringues:
- 4 large egg whites, room temperature
- 1 cup granulated sugar
- 1/4 tsp cream of tartar (optional but helps stabilize meringue)
- 1 tsp vanilla extract (optional, for flavor)
For the Eyes:
- 2 oz melted dark or milk chocolate
(or use mini chocolate chips or edible candy eyes)
Cooking Directions
Step-by-Step Preparation Method
Step 1: Preheat and Prepare
- Preheat your oven to 200°F (93°C).
- Line two baking sheets with parchment paper.
Step 2: Whip the Egg Whites
- In a clean, dry bowl, add egg whites and cream of tartar.
- Beat on medium speed until soft peaks form.
Step 3: Add the Sugar Gradually
- Slowly add sugar, 1 tablespoon at a time, while beating on high.
- Continue beating for 5–7 minutes, until stiff, glossy peaks form and the sugar is fully dissolved.
Step 4: Add Vanilla (Optional)
- Beat in vanilla extract briefly to incorporate.
Step 5: Pipe the Ghosts
- Transfer meringue to a piping bag fitted with a round tip (or a ziplock bag with the corner cut off).
- Pipe tall “ghost” shapes onto the parchment — small bases with a peak at the top.
Step 6: Bake Slowly
- Bake for 1 hour 15 minutes or until firm to the touch and dry.
- Turn off the oven, crack the door open slightly, and let cookies cool inside for 30 minutes.
Step 7: Add Eyes
- Once cooled, melt chocolate and use a toothpick to dot on little eyes.
- Alternatively, press mini chocolate chips onto the ghosts while slightly warm.
How to Serve
Serve your Ghost Meringue Cookies:
- On a Halloween-themed platter or tiered dessert stand.
- With hot chocolate, coffee, or pumpkin spice lattes for a cozy pairing.
- You can also use them as toppers for cupcakes or cakes — they make adorable edible decorations!
Recipe Tips
- Room temperature eggs whip better than cold ones.
- Make sure your bowl and whisk are grease-free for best meringue volume.
- Do not overbake — they should be dry but not browned.
- If humidity is high, store them in an airtight container immediately after cooling.
Variations
- Colored Ghosts:
Add a few drops of food coloring (orange, purple, or green) for fun Halloween hues. - Flavored Meringues:
Add a drop of peppermint, almond, or coconut extract for unique flavors. - Mini Ghost Pops:
Pipe onto lollipop sticks for cute ghost meringue pops — great for kids’ parties! - Chocolate-Dipped Ghosts:
Dip the bottoms in melted chocolate for extra decadence and contrast.
Freezing and Storage
- Storage: Store in an airtight container at room temperature for up to 7 days.
- Freezing: Can be frozen (in airtight container, separated by parchment) for up to 1 month. Thaw at room temperature — do not refrigerate, as humidity can make them sticky.
Special Equipment Needed
- Electric mixer (hand or stand)
- Mixing bowls
- Piping bag with round tip (or ziplock bag)
- Parchment paper
- Baking sheets
- Toothpick (for adding chocolate eyes)
Conclusion
These Ghost Meringue Cookies with Chocolate Eyes are the perfect combination of spooky, sweet, and spectacular! With their melt-in-your-mouth texture and charming ghostly shapes, they bring instant Halloween cheer to any table. Whether you’re an experienced baker or a beginner, these cookies are foolproof, festive, and full of fun. Light, crispy, and hauntingly cute — they’re sure to vanish from your platter in no time!
Ghost Meringue Cookies with Chocolate Eyes
These Ghost Meringue Cookies with Chocolate Eyes are light, airy, and hauntingly adorable — the perfect sweet addition to any Halloween spread! Made with just a few simple ingredients (egg whites, sugar, and chocolate), these cookies transform into cute little ghost figures that are both elegant and playful.
Ingredients
For the Meringues:
For the Eyes:
Instructions
-
Step 1: Preheat and Prepare : Preheat your oven to 200°F (93°C). Line two baking sheets with parchment paper.
-
Step 2: Whip the Egg Whites : In a clean, dry bowl, add egg whites and cream of tartar. Beat on medium speed until soft peaks form.
-
Step 3: Add the Sugar Gradually : Slowly add sugar, 1 tablespoon at a time, while beating on high. Continue beating for 5–7 minutes, until stiff, glossy peaks form and the sugar is fully dissolved.
-
Step 4: Add Vanilla (Optional) : Beat in vanilla extract briefly to incorporate.
-
Step 5: Pipe the Ghosts : Transfer meringue to a piping bag fitted with a round tip (or a ziplock bag with the corner cut off). Pipe tall “ghost” shapes onto the parchment — small bases with a peak at the top.
-
Step 6: Bake Slowly : Bake for 1 hour 15 minutes or until firm to the touch and dry. Turn off the oven, crack the door open slightly, and let cookies cool inside for 30 minutes.
-
Step 7: Add Eyes : Once cooled, melt chocolate and use a toothpick to dot on little eyes. Alternatively, press mini chocolate chips onto the ghosts while slightly warm.