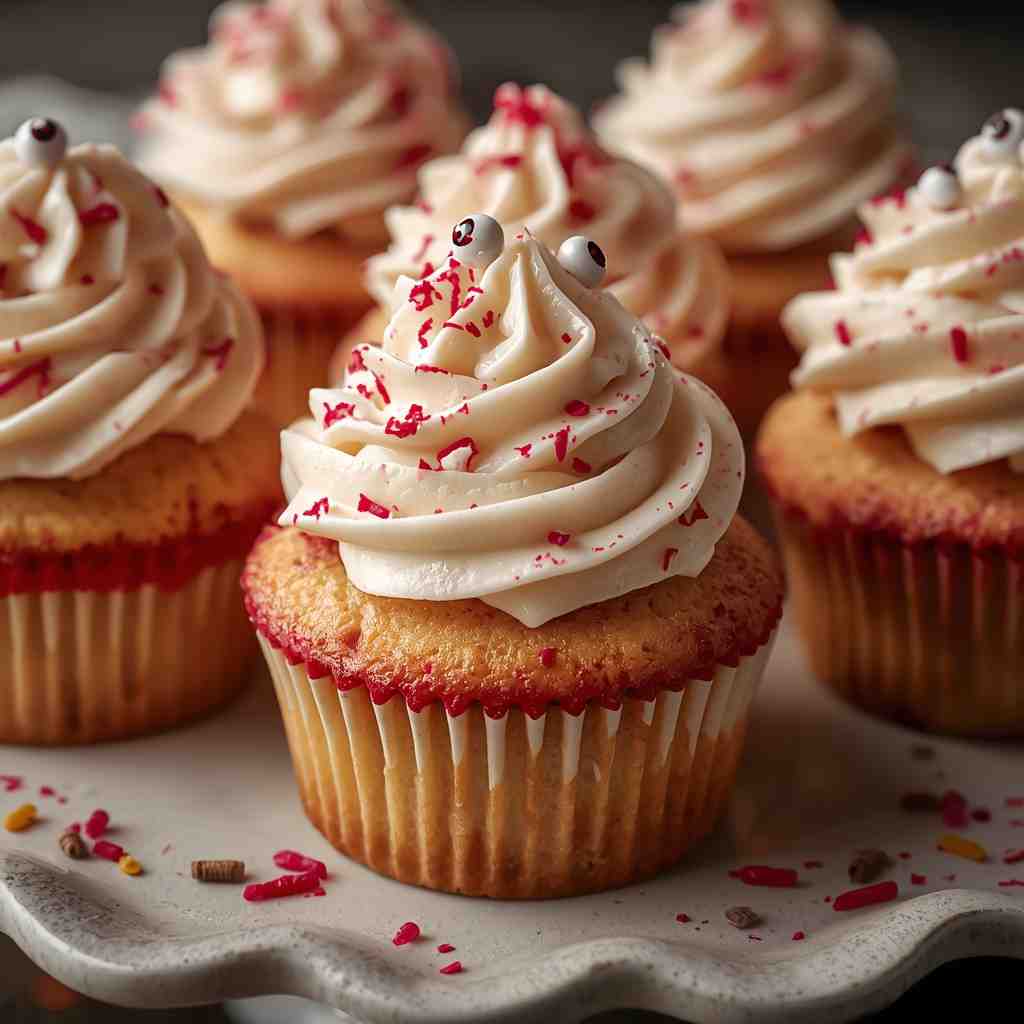
Get ready to creep out your guests (in the most delicious way possible) with Zombie Brain Cupcakes with Raspberry Filling—a gruesomely gorgeous Halloween treat that’s as tasty as it is terrifying! These cupcakes feature a moist, rich chocolate base filled with gooey raspberry “blood,” topped with a brain-like swirl of pale pink buttercream frosting. When you take a bite, the raspberry filling oozes out just like a zombie brain explosion—both spooky and sweet!
Perfect for Halloween parties, horror movie marathons, or themed baking nights, these cupcakes strike that perfect balance between scary and scrumptious. The rich chocolate cake pairs beautifully with the tart raspberry filling and creamy frosting, creating a dessert that’s creepy on the outside but heavenly on the inside.
Why I Love This Recipe
I absolutely love this recipe because it captures the fun, imaginative spirit of Halloween baking. It’s playful, interactive, and always gets a reaction—whether it’s a gasp, a laugh, or a delighted “eww!” The combination of dark chocolate and fruity raspberry is one of my favorite flavor pairings, and it works perfectly here: the tangy filling cuts through the richness of the cupcake, and the frosting ties everything together in a silky-smooth finish.
Plus, it’s surprisingly easy to make. You don’t need to be a professional baker to pipe out a convincing “brain” design—just a steady hand and a bit of creativity. The result looks impressively gruesome, but tastes decadently indulgent.
Why It’s a Must-Try Dish
These cupcakes are a must-try because they bring everything you could want from a Halloween dessert:
- Fun to make – Decorating the “brains” is an activity kids and adults can both enjoy.
- Visually striking – The raspberry “blood” filling is spooky perfection.
- Rich and delicious – The chocolate base is moist, decadent, and crowd-pleasing.
- Party-perfect – Great for dessert tables, bake sales, or themed parties.
- Unforgettable – Once you make these, they’ll become a Halloween tradition!
Preparation and Cooking Time
- Preparation Time: 25 minutes
- Cooking Time: 20 minutes
- Decoration and Filling Time: 25 minutes
- Total Time: ~1 hour 10 minutes
Servings and Nutrition
- Servings: 12 cupcakes
- Calories per Serving: ~320 kcal
- Course: Dessert
- Cuisine: American
Ingredients
For the Cupcakes:
- 1 cup all-purpose flour
- ½ cup unsweetened cocoa powder
- 1 tsp baking powder
- ½ tsp baking soda
- ¼ tsp salt
- ¾ cup granulated sugar
- ½ cup buttermilk (or milk + 1 tsp vinegar)
- ½ cup vegetable oil
- 2 large eggs
- 1 tsp vanilla extract
- ½ cup hot water or coffee (to intensify chocolate flavor)
For the Raspberry “Brain Filling”:
- ¾ cup fresh or frozen raspberries
- 2 tbsp sugar
- 1 tsp cornstarch mixed with 1 tsp water
- A few drops red food coloring (optional, for a bloodier effect)
For the Brain Frosting:
- 1 cup unsalted butter, softened
- 3 cups powdered sugar
- 2 tbsp heavy cream or milk
- 1 tsp vanilla extract
- A few drops pink or red food coloring
Step-by-Step Preparation Method
Step 1: Prepare the Cupcakes
- Preheat the oven to 350°F (175°C) and line a 12-cup muffin tin with paper liners.
- In a large bowl, whisk together flour, cocoa powder, baking powder, baking soda, and salt.
- In another bowl, combine sugar, buttermilk, oil, eggs, and vanilla. Whisk until smooth.
- Gradually mix the dry ingredients into the wet until just combined.
- Stir in the hot water or coffee, mixing until smooth and glossy.
- Fill cupcake liners about ¾ full.
- Bake for 18–20 minutes, or until a toothpick inserted comes out clean.
- Cool completely on a wire rack.
Step 2: Make the Raspberry Filling
- In a small saucepan, combine raspberries and sugar over medium heat.
- Cook until the berries break down and release juices (about 5 minutes).
- Stir in the cornstarch slurry and cook for another 2 minutes until thickened.
- Add a few drops of red food coloring if desired.
- Let the filling cool completely before using.
Step 3: Prepare the Brain Frosting
- Beat butter in a large bowl until creamy.
- Gradually add powdered sugar, beating after each addition.
- Add vanilla extract and cream, and beat until light and fluffy.
- Tint with a few drops of pink food coloring to achieve a fleshy tone.
Step 4: Assemble the Zombie Brain Cupcakes
- Use a small knife or cupcake corer to remove a small center from each cooled cupcake.
- Fill each hole with raspberry filling, letting it slightly overflow for a “bleeding” effect.
- Fit a piping bag with a small round tip (like a #5 or #6).
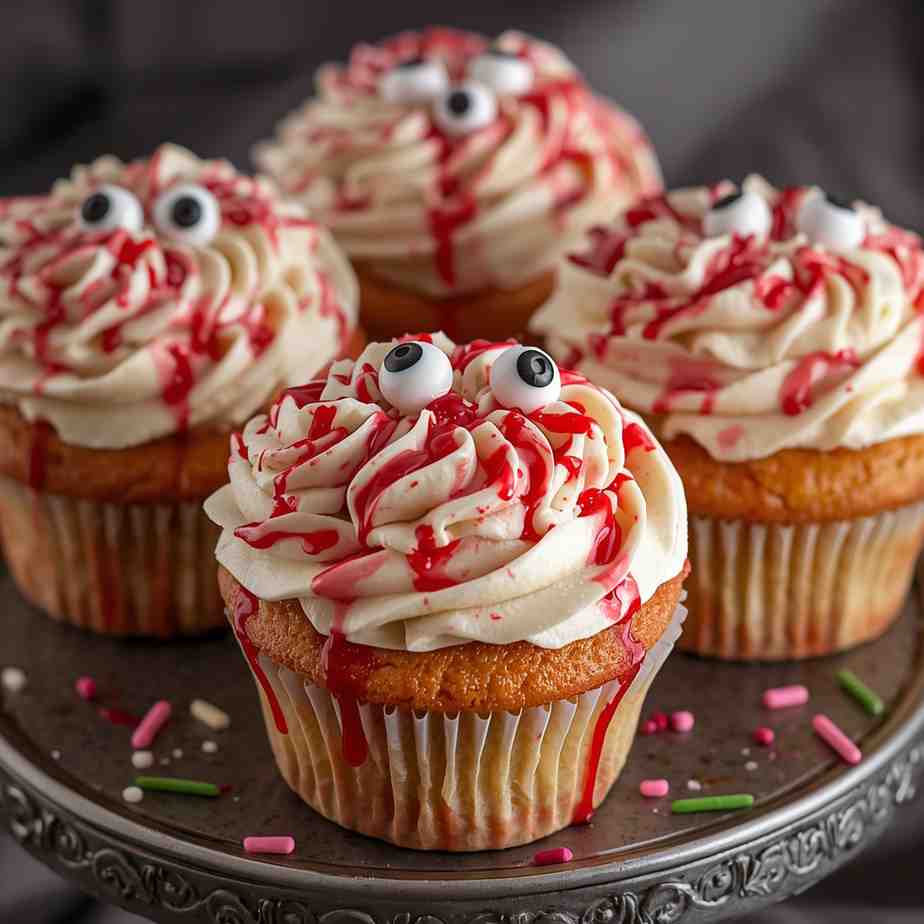
- Pipe the frosting in a zig-zag pattern resembling brain folds. Start from the center and move outward, creating two symmetrical “lobes.”
Step 5: The Finishing Touch
- For extra creep factor, drizzle a bit of raspberry filling over the top to make the “brains” look freshly bitten!
How to Serve
- Serve these cupcakes at Halloween parties or horror movie nights on a spooky platter.
- Add fake syringes filled with raspberry sauce for a fun, dramatic effect.
- Pair with a glass of cold milk or a pumpkin spice latte for the ultimate Halloween dessert moment.
Recipe Tips
- Use a squeeze bottle or piping bag for neat raspberry filling insertion.
- Don’t overfill with filling—it should ooze, not explode!
- To get realistic brain folds, pipe slowly and don’t worry about perfection—uneven is better!
- Chill the cupcakes for 10 minutes after frosting if your kitchen is warm.
Variations
- Vanilla Cupcake Base: Use vanilla cupcakes instead of chocolate for a lighter flavor.
- Green Brains: Add a few drops of green food coloring to frosting for zombie rot vibes.
- Strawberry Filling: Use strawberry jam instead of raspberry for a sweeter filling.
- Red Velvet Brains: Make red velvet cupcakes for a double-creepy presentation.
- Vegan Version: Use plant-based milk, egg substitute, and vegan butter for an animal-free version.
Freezing and Storage
- Room Temperature: Store frosted cupcakes in an airtight container for up to 2 days.
- Refrigerator: Keeps fresh for 4–5 days (best to store frosting and cupcakes separately).
- Freezer:
- Unfrosted cupcakes can be frozen for up to 3 months.
- Thaw completely before filling and frosting.
Special Equipment Needed
- Muffin tin
- Paper cupcake liners
- Electric mixer or hand whisk
- Saucepan (for raspberry filling)
- Piping bag and small round piping tip
- Small knife or cupcake corer
Conclusion
Zombie Brain Cupcakes with Raspberry Filling are the perfect combination of creepy and craveable. From their gooey raspberry centers to their soft, moist chocolate base and brainy buttercream tops, they’re bound to be the talk of any Halloween table.
These cupcakes are a must-make for thrill-seekers and sweet-tooth lovers alike—a playful, gory, and utterly delicious dessert that embodies the spirit of spooky season. Whether you’re entertaining guests or baking for fun, these “bloody brains” are guaranteed to impress (and delightfully disturb).
Zombie Brain Cupcakes with Raspberry Filling
Get ready to creep out your guests (in the most delicious way possible) with Zombie Brain Cupcakes with Raspberry Filling—a gruesomely gorgeous Halloween treat that’s as tasty as it is terrifying! These cupcakes feature a moist, rich chocolate base filled with gooey raspberry “blood,” topped with a brain-like swirl of pale pink buttercream frosting.
Ingredients
For the Cupcakes:
For the Raspberry “Brain Filling”:
Instructions
-
Step 1: Prepare the Cupcakes : Preheat the oven to 350°F (175°C) and line a 12-cup muffin tin with paper liners. In a large bowl, whisk together flour, cocoa powder, baking powder, baking soda, and salt. In another bowl, combine sugar, buttermilk, oil, eggs, and vanilla. Whisk until smooth. Gradually mix the dry ingredients into the wet until just combined. Stir in the hot water or coffee, mixing until smooth and glossy. Fill cupcake liners about ¾ full. Bake for 18–20 minutes, or until a toothpick inserted comes out clean. Cool completely on a wire rack.
-
Step 2: Make the Raspberry Filling : In a small saucepan, combine raspberries and sugar over medium heat. Cook until the berries break down and release juices (about 5 minutes). Stir in the cornstarch slurry and cook for another 2 minutes until thickened. Add a few drops of red food coloring if desired. Let the filling cool completely before using.
-
Step 3: Prepare the Brain Frosting : Beat butter in a large bowl until creamy. Gradually add powdered sugar, beating after each addition. Add vanilla extract and cream, and beat until light and fluffy. Tint with a few drops of pink food coloring to achieve a fleshy tone.
-
Step 4: Assemble the Zombie Brain Cupcakes : Use a small knife or cupcake corer to remove a small center from each cooled cupcake. Fill each hole with raspberry filling, letting it slightly overflow for a “bleeding” effect. Fit a piping bag with a small round tip (like a #5 or #6). Pipe the frosting in a zig-zag pattern resembling brain folds. Start from the center and move outward, creating two symmetrical “lobes.”
-
Step 5: The Finishing Touch : For extra creep factor, drizzle a bit of raspberry filling over the top to make the “brains” look freshly bitten!